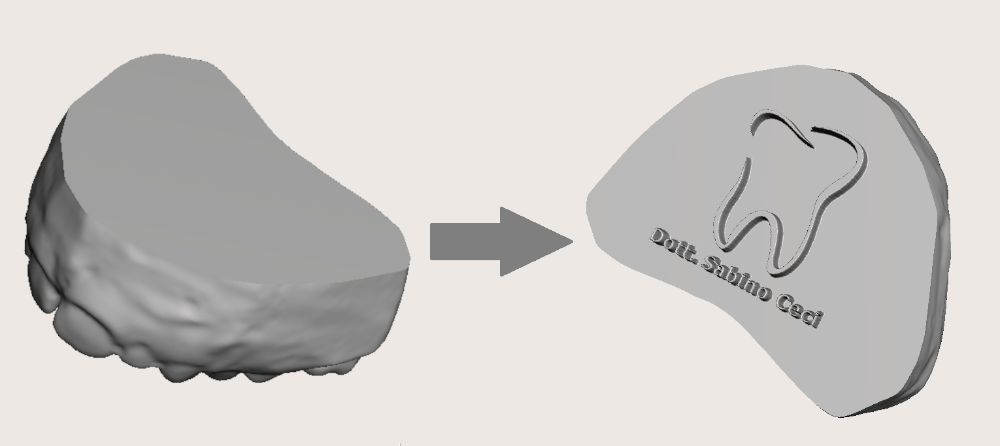
How to add your logo to a scan in Meshmixer

In this post I'll show you the step by step procedure to add your personal logo to a digital scan in Meshmixer.
1) Generate a 500x500 px black box in Paint or other imaging software
2) Add your personal logo
3) Open Meshmixer and import your scan
4) Select the surface where you want to put your logo
5) Click on Edit > Remesh or press R on the keyboard
6) Set these values and then click on accept

As you can see the result is an high density mesh

7) Go into Sculpt mode > Select Surface > Stencils > Click on the big plus button

8) Select your logo
9) Then click again on Stencils and select your logo
10) Set these values

and click on the surface to apply the logo

As you can see the result is great , especially if you generate an high contrast logo.
If you want you can also apply a different kind of logo, with a solid base extruded and an intruded text. The step by step is the same, except for the logo file beacuse it has to be with a white background and a black text. For example.

The result is

I hope that you like this post and I ask you to share it with your colleagues and interested friends. See you soon!


Commenti
Posta un commento